Candy-inspired nail art is all the rage right now, and it’s easy to see why. These sweet designs are not only incredibly trendy, but they’re also super fun and stylish. If you’re looking for a unique way to show off your personality, these candy-themed nails are definitely for you! From simple designs to more complex ones, there’s sure to be a style that suits your taste. So what are you waiting for? Check out these amazing candy-inspired nail art designs today!
The sweetest way to jazz up your manicure: candy nail art
Candy-inspired nail art is all the rage, and it’s not hard to see why! These designs are fun, colorful, and, best of all, they look good enough to eat! So if you’re looking for creative inspiration for your next manicure, check out these amazing candy-inspired nail art designs. From lollipop nails to gummy bear nails, there’s something here for everyone.
So what are you waiting for? Get your sweet tooth ready and start browsing through these tantalizing designs!
- Lollipop Nails
These lollipop nails are so cute and easy to create! All you need is a Pop Art Lollipop stamping plate from Konad and some bright nail polish colors. Then, stamp the lollipop designs onto your nails and add a dot of polish in the center to create the “lollipop” effect.
- Gummy Bear Nails
These gummy bear nails are sure to put a smile on your face! To create them, start by painting your nails with a white base color. Then, use a small brush to paint on the gummy bear designs with black polish. Finally, add some glitter polish to the tips of the bears’ noses for a touch of sparkle.
- Cotton Candy Nails
These cotton candy nails are so dreamy and romantic! They would be perfect for a wedding or any other special occasion. To create them, start by painting your nails with a light blue base color. Then, use a cotton candy machine to fluff up some pink and blue tulle into small balls. Finally, press the tulle onto your nails to create the “cotton candy” effect.
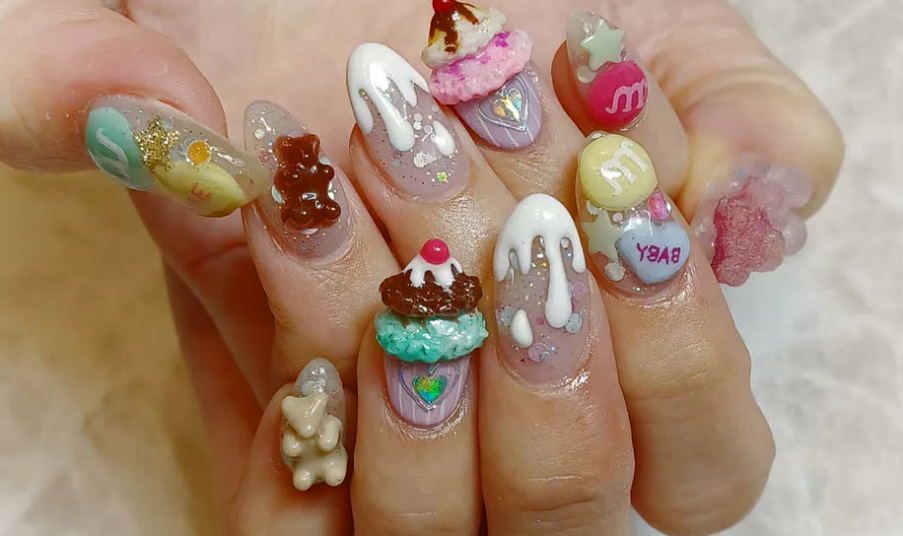
- Cupcake Nails
These cupcake nails are adorable! They would be perfect for a birthday party or any other fun celebration. To create them, start by painting your nails with a white base color. Then, use a small brush to paint on the cupcake designs with various colors of polish. Finally, add some glitter polish to the frosting for a touch of sparkle.
- Chocolate Nails
These chocolate nails look good enough to eat! To create them, start by painting your nails with a brown base color. Then, use a small brush to paint on the chocolate designs with dark brown polish. Finally, add some white polish to the center of each chocolate for a realistic touch.
- Jellybean Nails
These jellybean nails are so much fun! They would be perfect for a spring or summertime manicure. To create them, start by painting your nails with a white base color. Then, use a small brush to paint on the jellybean designs with various colors of polish. Finally, add some clear top coat to give them a glossy finish.
- Ice Cream Cone Nails
These ice cream cone nails are sure to tantalize your taste buds! To create them, start by painting your nails with a light blue base color. Then, use a small brush to paint on the ice cream cone designs with white polish. Finally, add some glitter polish to the tips of the cones for a touch of sparkle.
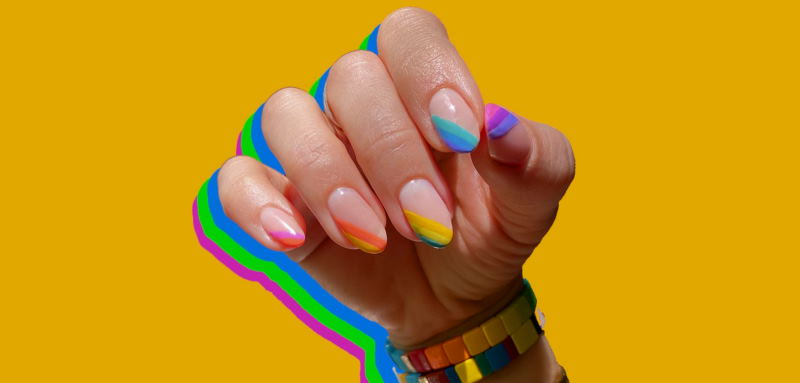
- Rainbow Nails
These rainbow nails are so bright and cheerful! They would be perfect for a summertime manicure. To create them, start by painting your nails with a white base color. Then, use a small brush to paint on the rainbow designs with various colors of polish. Finally, add some clear top coat to give them a glossy finish.
- Cherry Nails
These cherry nails are so cute and festive! They would be perfect for a Fourth of July or Memorial Day manicure. Start by painting your nails with a red base color to create them. Then, use a small brush to paint on the cherry designs with white polish. Finally, add a clear top coat to give them a glossy finish.
- Watermelon Nails
These watermelon nails are so refreshing! They would be perfect for a summertime manicure. To create them, start by painting your nails with a green base color. Then, use a small brush to paint the watermelon designs with various colors of pink polish. Finally, add a clear top coat to give them a glossy finish.
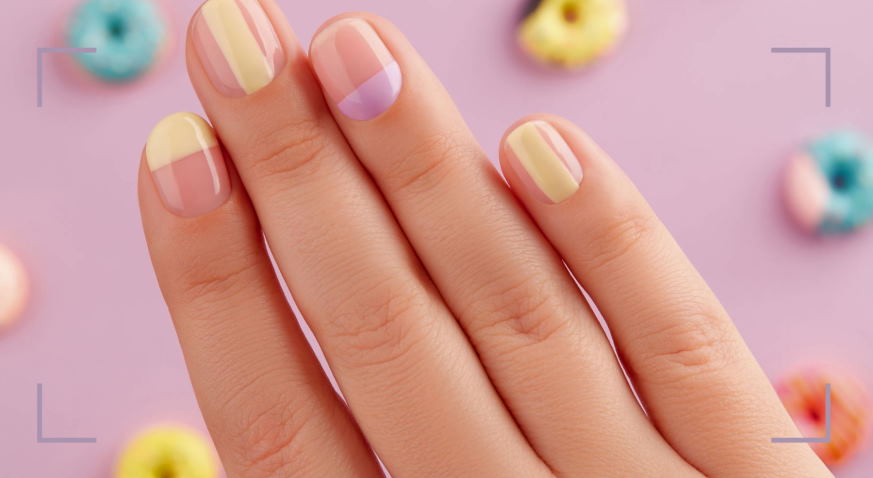
The sweet art of candy nail design: tips and tricks for stunning, minimalist manicures
- Start with a clean slate. Make sure your nails are clean and free of any polish or residue before you start your candy nail design. This will help the colors pop and ensure that your manicure lasts longer.
- Choose your colors wisely. When it comes to candy nails, less is more. Stick to two or three colors maximum to avoid a cluttered, overly busy look.
- Use a base coat. This will help your colors stay true to form and prevents them from staining your nails.
- Go for a matte finish. A glossy finish can look too “wet” for this type of design; instead, opt for a matte top coat or a clear coat with a matte finish.
- Keep it simple. The key to a beautiful candy nail design is simplicity. Stick to clean lines and basic shapes for a chic, minimalist look.
With these tips, you’re ready to create your candy nail masterpiece!
 Tara Restrepo in one of the pioneering style bloggers, launching her blog Wicksteed Open Air in 2012. With almost a decade of experience in the social media and blogging spectrum, Tara is considered an expert in her field.