Your prom night is one of the most important nights of your high school career. So, of course, you want to look your absolute best! And what better way to add a touch of glamour and sophistication than with some beautiful prom nails? Whether you’re going for classic and elegant or fun and funky, we’ve got some great nail designs that will make you stand out on the dance floor. So put down that hairbrush, grab your polish, and let’s get started!
The ultimate guide to prom nail art: fabulous tips and must-have designs
When it comes to prom nail art, the sky is the limit! You can go for a classic French manicure or add some extra bling with rhinestones and glitter. If you’re feeling creative, why not try out a unique design like watercolor nails or ombré nails?
No matter your style, there’s sure to be a prom nail art design perfect for you. To help you get started, we’ve put together a list of our favorite tips and tricks and some must-have designs.

- Use a base coat: This will help your nail color last longer and prevent your nails from staining.
- Choose the right colors: When it comes to prom nails, you want to ensure your colors compliment your dress. Try a nude or light pink polish if you’re wearing a black dress. For a white dress, go for a brighter color like coral or blue.
- Consider your skin tone: Not all colors look good on everyone. If you have a fair skin tone, steer clear of dark colors like navy or black. Instead, opt for lighter shades like lavender or pale pink.
- Get creative with your designs: Prom is the perfect time to experiment with new nail art trends. Watercolor nails and ombré nails are both very popular right now.
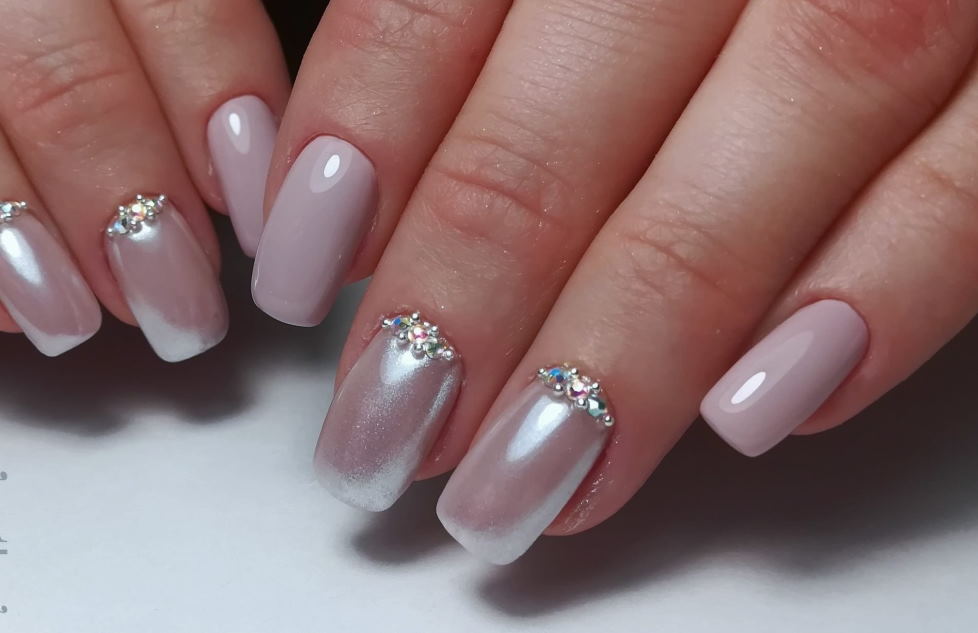
- Don’t forget the details: Once you’ve chosen your base color and design, it’s time to add the finishing touches. Rhinestones, glitter, and other embellishments can make your nails stand out.
We hope these tips have inspired you to create your own beautiful prom nail art!
DIY nail art: easy prom nail designs to try at home
If you’re looking for some easy and chic prom nail designs, we’ve got you covered. These DIY nails are simple enough to do at home but will still look great for your big night. Trust us, your classmates will be jealous of your mani game.
To get started, you’ll need some basic supplies like a base coat, top coat, nail polish in your desired colors, and a few other tools like striping tape or a dotting tool (optional). Once you have everything gathered, follow our step-by-step tutorial below to create three different looks.

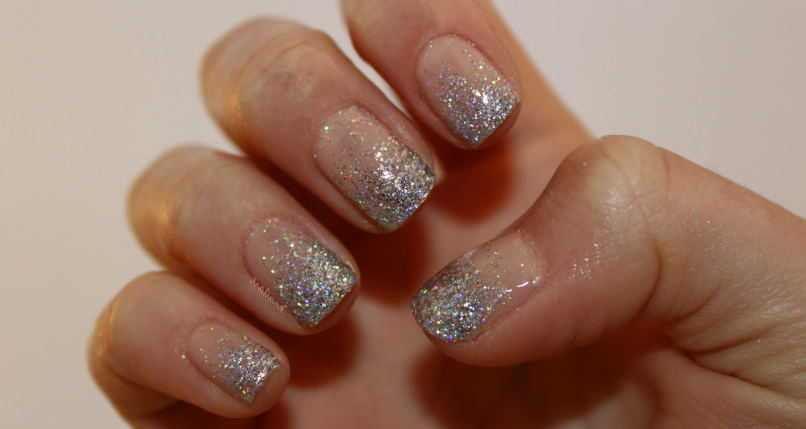
- Look 1: Glitter Ombre Nails
This design is perfect if you want something that sparkles but isn’t too over-the-top. Start with a light pink or nude base color, then apply a sheer glitter top coat over the entire nail. Once that’s dry, use striping tape or a dotting tool to create an ombre effect with a darker glitter shade. Finish with a top coat, and you’re good to go!
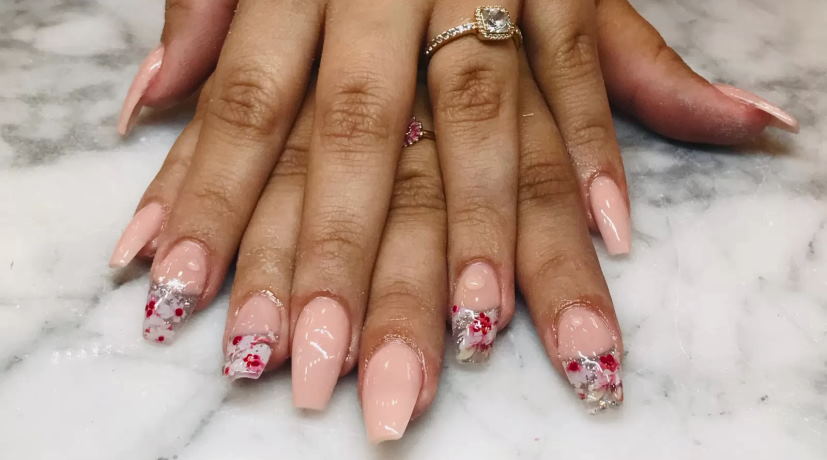
- Look 2: Negative Space Nails
Negative space nails are all the rage, and they make for a chic prom nail design. To get this look, start with a solid base color. Then, use striping tape or a dotting tool to create a half moon shape at the base of each nail. Next, paint over the exposed area with your desired color, then carefully remove the tape or dotting tool. Finally, finish with a top coat, and you’re all set!
- Look 3: Metallic Accents Nails
This design is super simple but looks chic and elegant. Start with a nude or pale pink base color, then use a metallic shade to paint one accent nail on each hand. We love using gold or silver for this look, but you can use any color. Finish with a top coat, and you’re good to go!
Which of these prom nail designs will you be trying? Let us know in the comments below!


 Tara Restrepo in one of the pioneering style bloggers, launching her blog Wicksteed Open Air in 2012. With almost a decade of experience in the social media and blogging spectrum, Tara is considered an expert in her field.